How to Restore and Download Backups Using JetBackup
This article explains how to use JetBackup to restore and download backups for:
- Files
- Email accounts
- MySQL databases
JetBackup is integrated with cPanel and allows you to restore or download backups easily.
Restoring Files
- Log in to cPanel.
- On the Tools page, under the Files section, click JetBackup 5.
- When the JetBackup dashboard opens, click Home Directory.
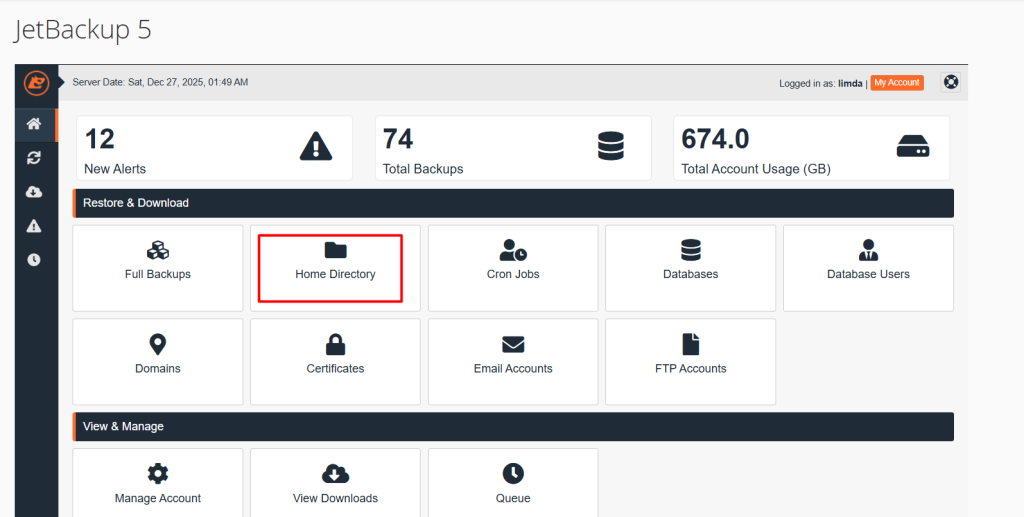
- Select the backup date you want to restore from.
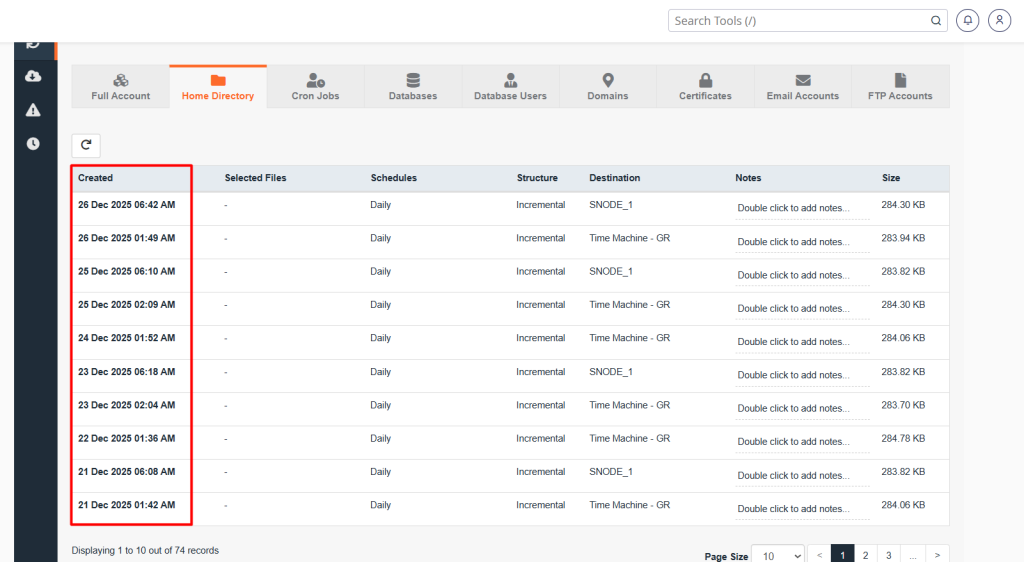
- Click Change Files Selection.
- Select the folder(s) or file(s) you want to restore.
- Click Select Files.
- Click Restore.
- In the Restore Summary window, click Restore Selected Items.
- Click the Queue icon to view the restore progress.
Restoring Email Accounts
- Log in to cPanel.
- On the Tools page, under the Files section, click JetBackup 5.
- From the JetBackup dashboard, click Email Accounts.
- Select the email account(s) you want to restore.
- If needed, click Choose Other Backup and select a different backup date.
- Click Restore.
- In the Restore Summary window, click Restore Selected Items.
- Click the Queue icon to view the restore progress.
Restoring MySQL Databases
- Log in to cPanel.
- On the Tools page, under the Files section, click JetBackup 5.
- From the JetBackup dashboard, click Databases.
- Select the database(s) you want to restore.
- If needed, click Choose Other Backup and select a different backup date.
- Click Restore.
- In the Restore Summary window, click Restore Selected Items.
- Click the Queue icon to view the restore progress.
Downloading Backups
- Log in to cPanel.
- On the Tools page, under the Files section, click JetBackup 5.
- In the left sidebar, click Restore & Download.
- Select the backup you want to download.
- Click Download.
- Remove any items you do not want, if required.
- Click Download Selected Items.
- Wait until the download status shows Completed.
- Click the Downloads icon in the left sidebar.
- Click Download next to the backup file.
- Choose a location on your computer and click Save.