What is a backup, and why is it necessary for data protection?
A backup is a copy of your important data or files that is created and stored separately from the original source. It serves as a safeguard against data loss or corruption, providing you with a way to restore your data in case of accidental deletion, hardware failure, software errors, security breaches, or other unforeseen events.
Here are some reasons why backups are essential:
- Data protection: Backups ensure the protection of your valuable data. Accidental deletion, hardware failure, software bugs, malware attacks, or natural disasters can all lead to data loss. Having backups enables you to recover your data and minimize the impact of such incidents.
- Business continuity: For businesses, data loss can result in significant disruptions and financial loss. Regular backups help maintain business continuity by ensuring that critical data is recoverable, minimizing downtime, and allowing operations to resume quickly.
- Disaster recovery: In the event of a disaster like a fire, flood, or system failure, backups are crucial for recovery. They provide a means to restore your systems and data to a functional state, allowing you to rebuild and continue operations.
To restore the backup from JetBackup, follow these steps:
- Login to cPanel: Open your web browser and visit your cPanel login URL. Enter your cPanel username and password to access your cPanel dashboard.
- Locate the JetBackup section: Once you’re logged in, scroll down or use the search bar to find the JetBackup section. It is usually located in the “JetBackup” category.
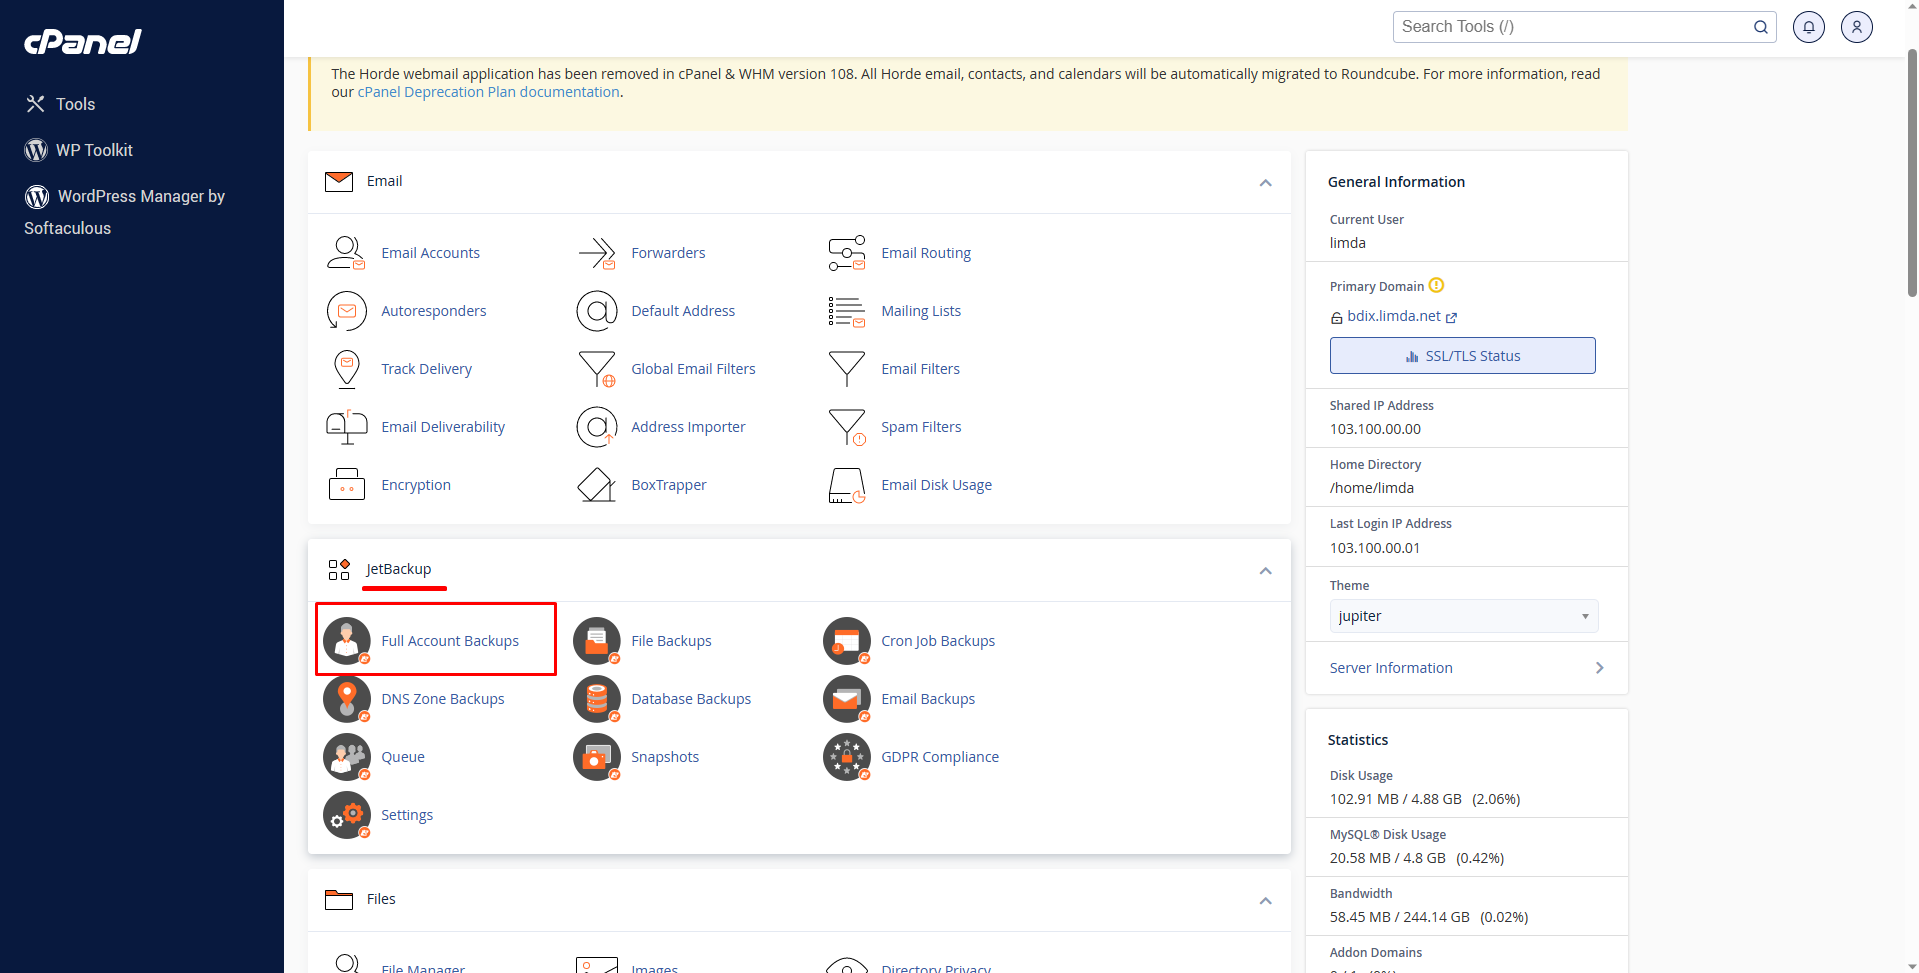
- Click on “JetBackup”: Click on the Full Account Backup icon or link to open the JetBackup interface.
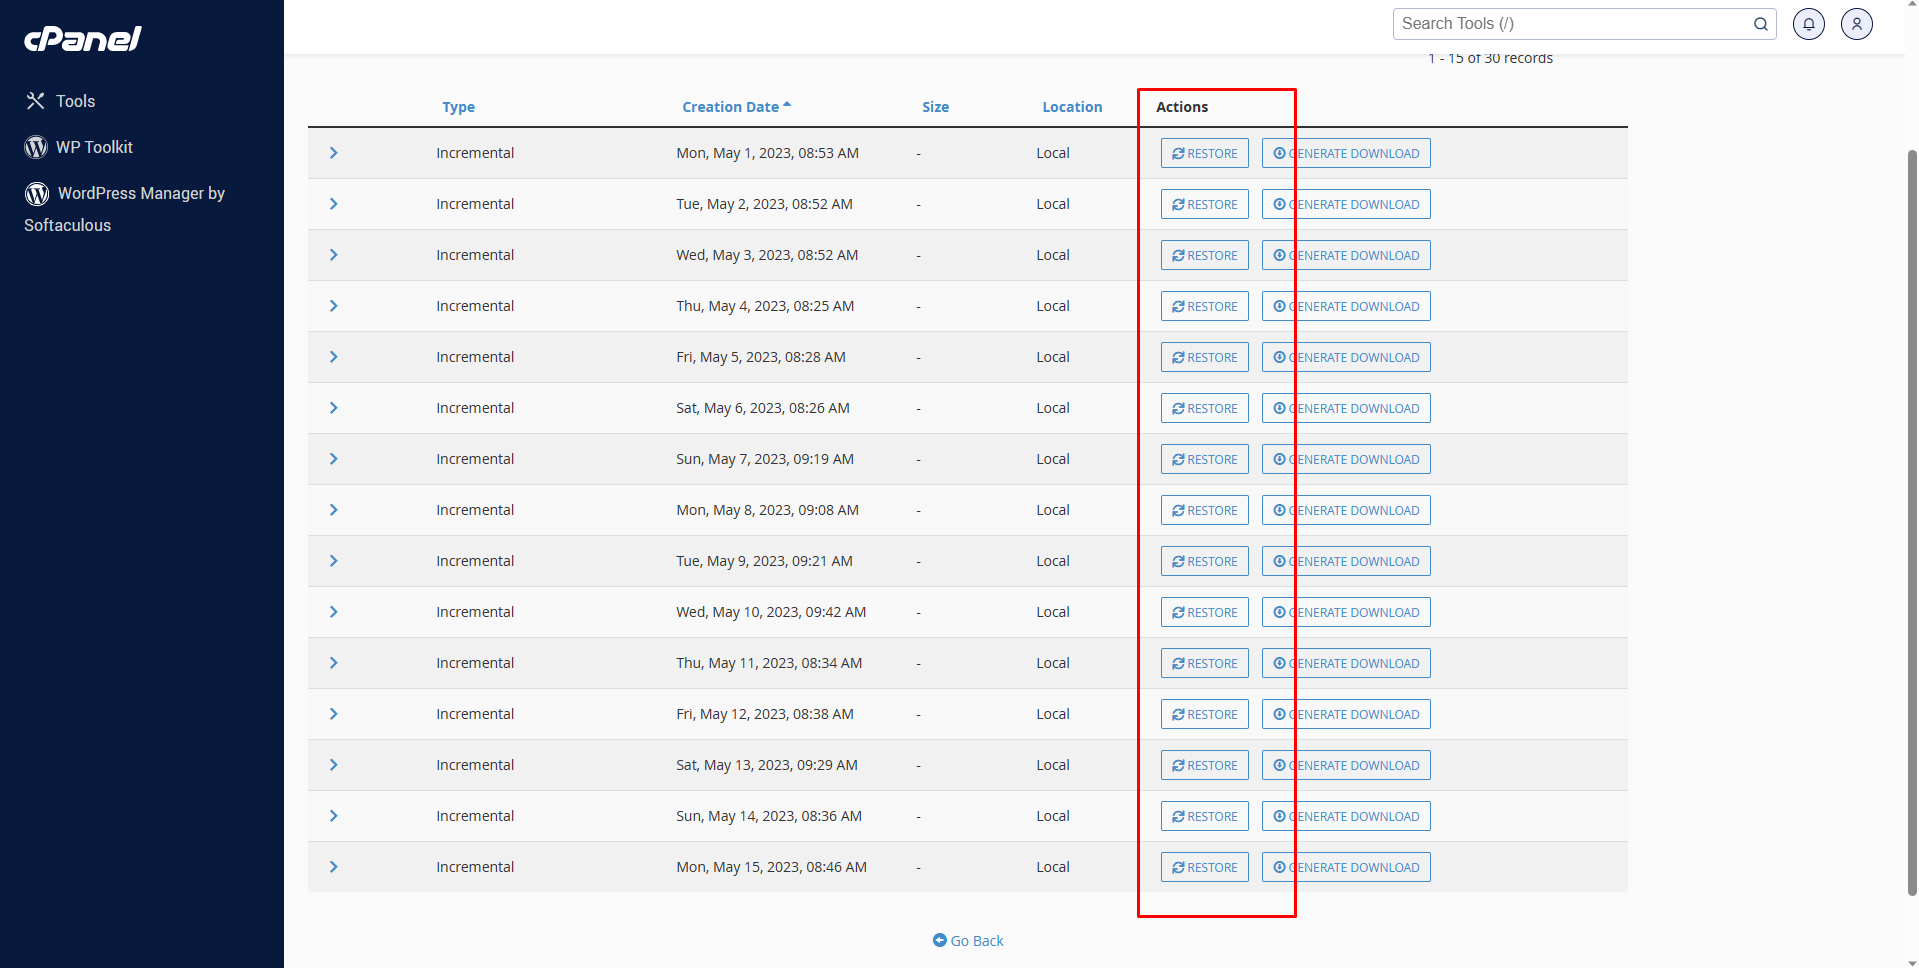
- Restore the backup file: On the Full Account Backup page, By confirming the creation date you can restore the backup for a specified date.
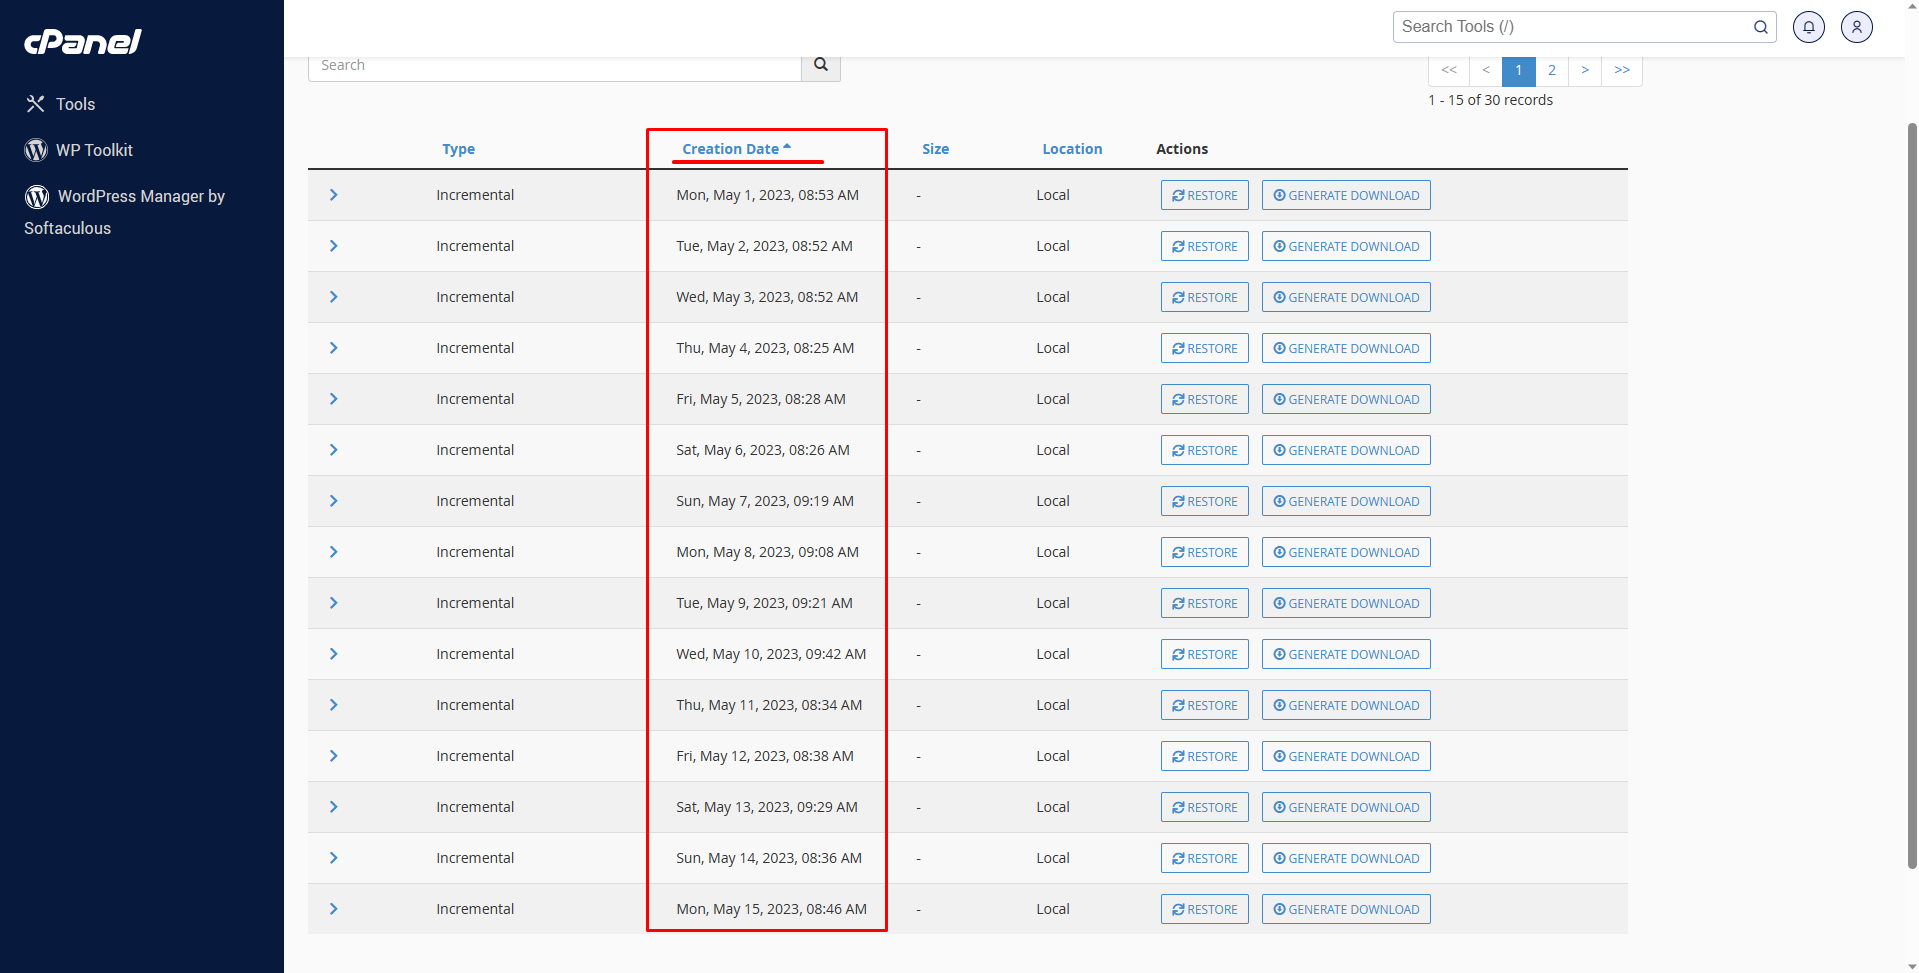
- Start the restore process: Once you have selected the backup file, now you can start backup restore by clicking on “Restore” button according to that date.
- Monitor the restore progress: The restore process may take some time, depending on the size of the backup file and the resources available. You can monitor the progress of the restore on the Queue page.
- Verify the restore: After the restore process completes, it’s essential to verify that the restoration was successful. Access your website, databases, email accounts, and other services to ensure everything is functioning as expected.
That’s it! By following these steps, you should be able to restore a backup from JetBackup on cPanel successfully.