What is DNS Record?
A DNS (Domain Name System) record is a set of information that is used to map a domain name to an IP address. DNS records are stored on DNS servers and used to resolve domain names to IP addresses when a client, such as a web browser, requests a website or other resource by its domain name. There are several types of DNS records, including:
- A (Address) records: map a domain name to an IPv4 address.
- AAAA (Quad-A) records: map a domain name to an IPv6 address.
- MX (Mail Exchange) records: specify the mail servers for a domain and used to route email to the correct server.
- CNAME (Canonical Name) records: map a domain name to another domain name.
- TXT (Text) records: used to store text-based information about a domain, such as SPF (Sender Policy Framework) records for email.
- SRV (Service) records: used to specify the location of a specific service, such as a SIP or XMPP server.
To add a DNS record using the Zone Editor in cPanel, follow these steps:
- Log in to cPanel.
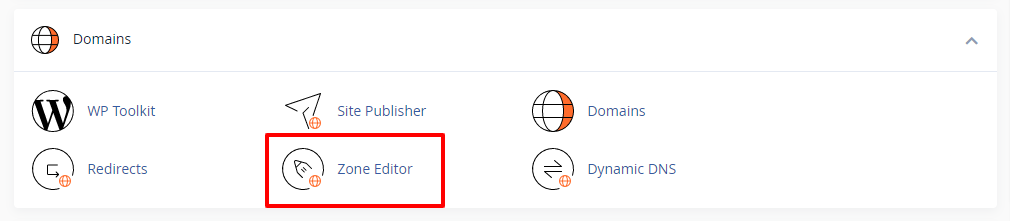
- In the “Domains” section, click on “Zone Editor.”
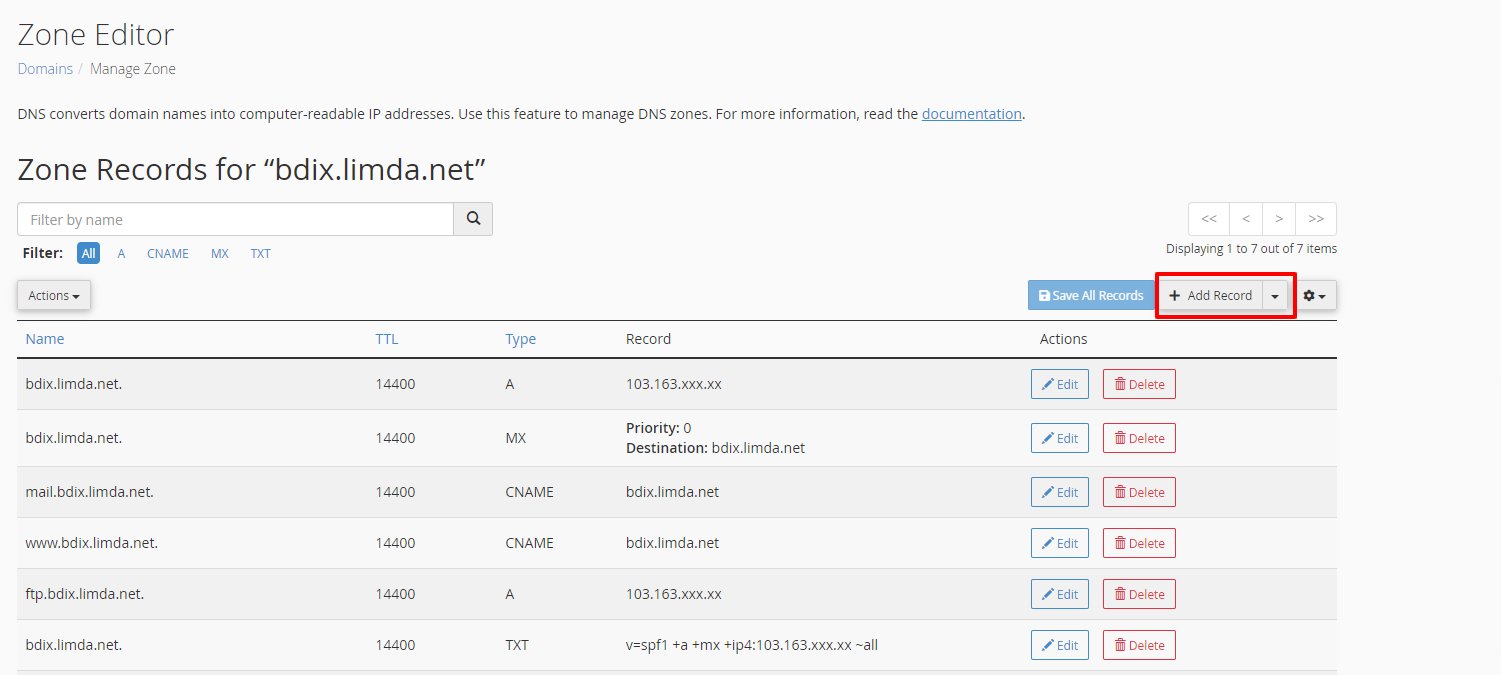
- Select the domain for which you want to add a DNS record.
- Click on the “Add Record” button.
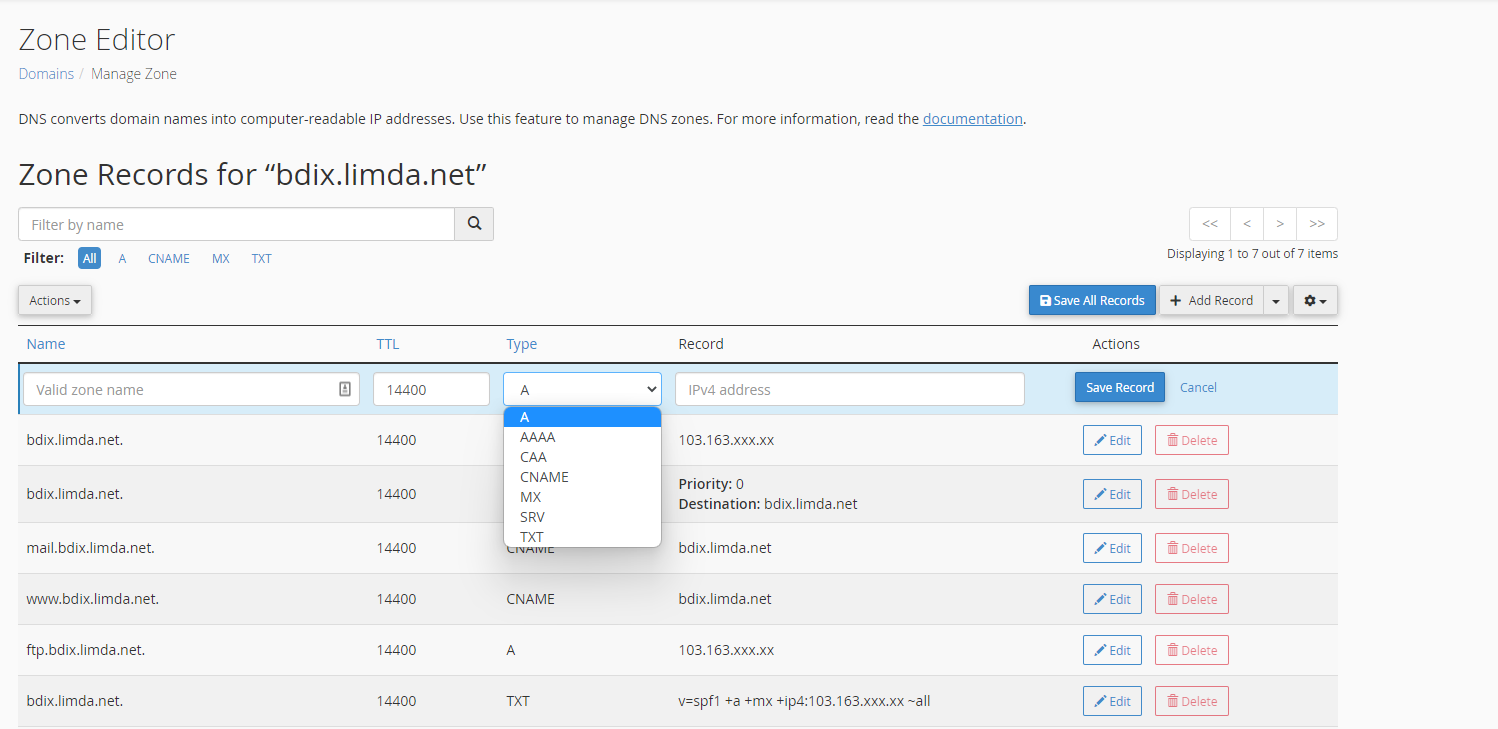
- Select the type of record you want to add from the drop-down menu (e.g. A, CNAME, MX, etc.).
- In the “Name” field, enter the hostname or subdomain for which you want to create the record.
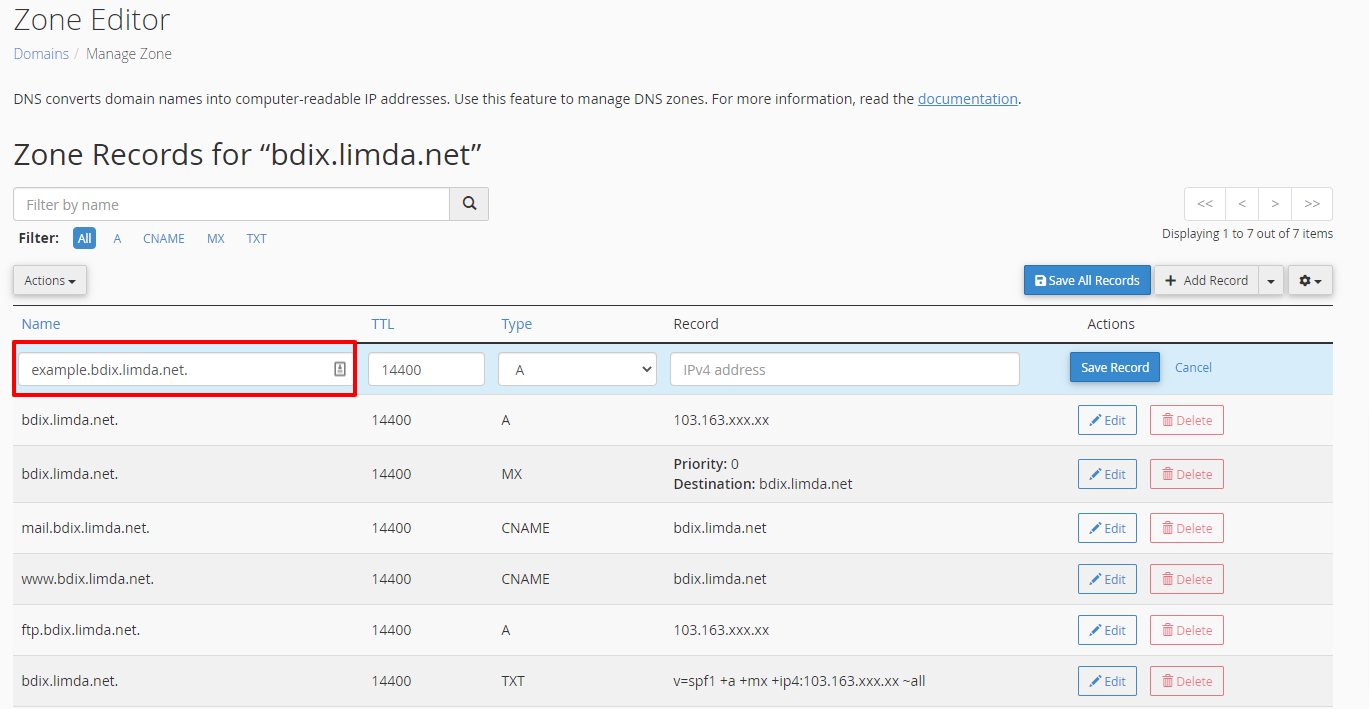
- In the “TTL” field, enter the time-to-live value for the record.
- In the “Type” field, enter the IP address or destination hostname for the record.
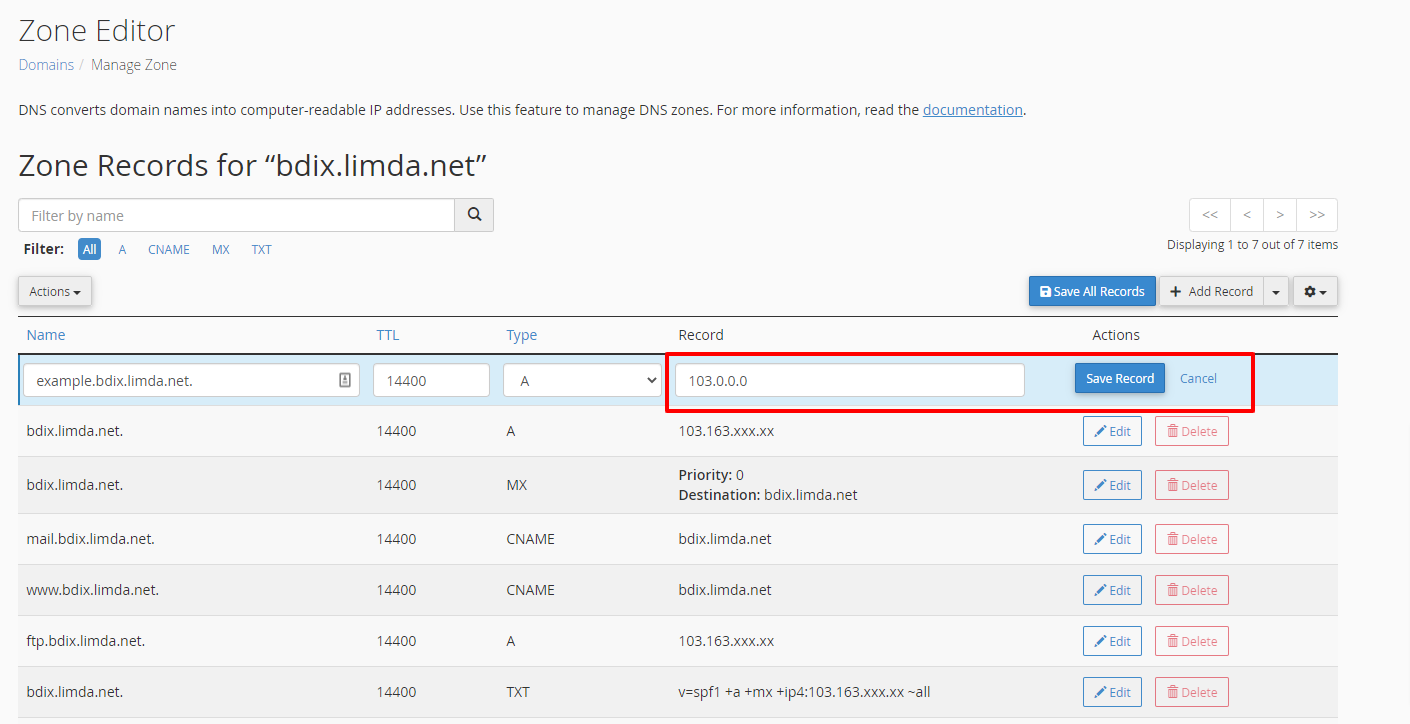
- Click on the “Save Record” button to save the new DNS record.
Note: Be sure to double check the record, if it’s the right one before saving, as DNS changes can take up to 24 hours to propagate and a mistake may cause DNS resolution issues.